
Bypassing the Gateway: Building Direct Custom Non-Custodial Checkouts with XRPay's SDK
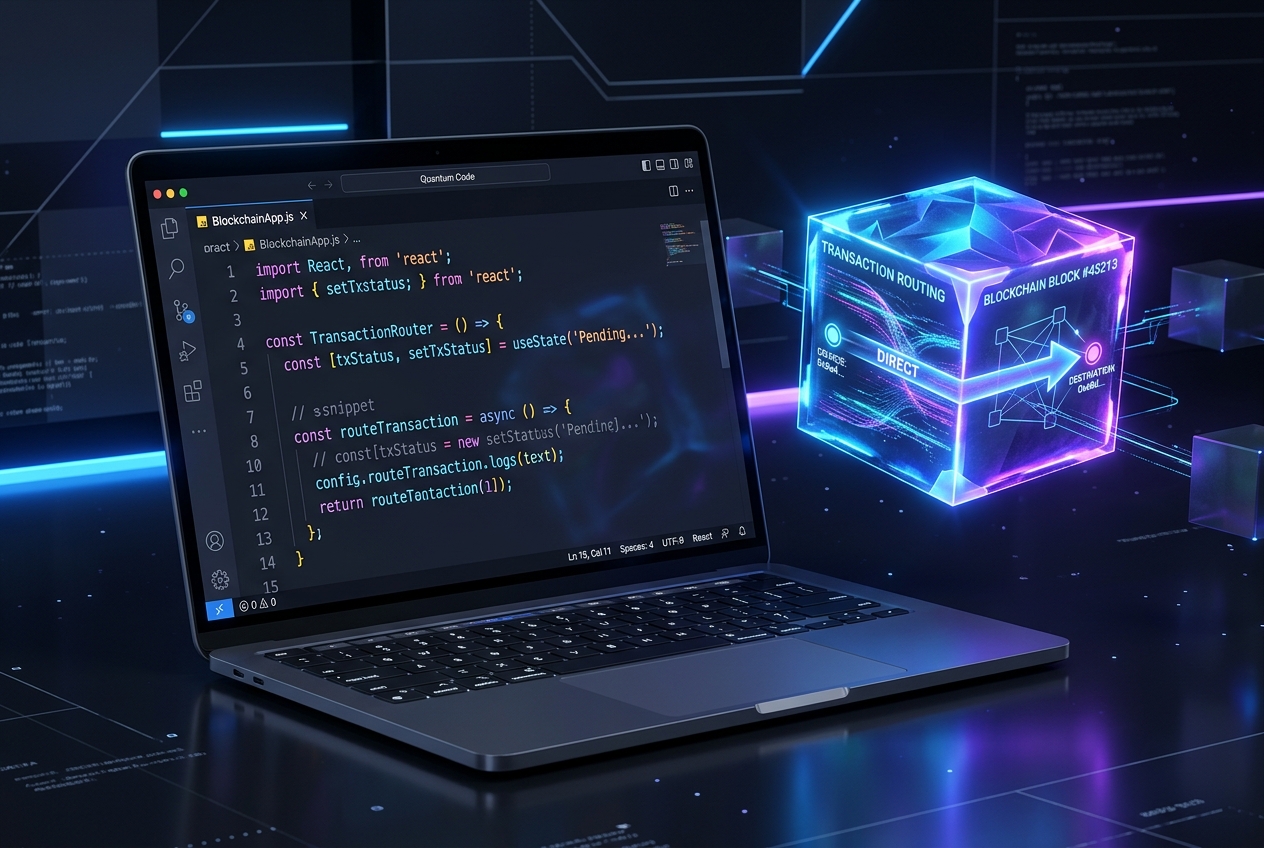
Most cryptocurrency payment gateways force a redirect. When a customer clicks "Pay," they are routed away from the merchant's checkout page to a hosted gateway domain.
While hosted pages simplify implementation, they introduce friction through brand inconsistency, loss of conversion funnel analytics, and rigid UI styles. For enterprise platforms that want complete control over their checkout funnel, XRPay provides a headless TypeScript SDK alongside direct API access.
Headless payments allow merchants to build fully custom, non-custodial checkout interfaces directly inside their existing React, Vue, or Remix applications.
1. Headless Architecture: Keeping the Shopper on Your Domain
By bypassing the hosted gateway redirect, your application communicates directly with the XRPay API backend while rendering the interface locally on your own frontend codebase.
2. API Implementation: Initiating the Payment Session
To begin, your secure server-side backend initiates a payment session with XRPay. Since this request requires your private API key, it should never be called directly from the client-side browser:
// server.ts (Remix Loader/Action or Express Node Backend)
export async function createDirectCheckoutSession(orderId: string, amount: number) {
  const response = await fetch("https://api.xrpay.it/api/v1/checkouts", {
    method: "POST",
    headers: {
      "Authorization": `Bearer ${process.env.XRPAY_API_KEY}`,
      "Content-Type": "application/json"
    },
    body: JSON.stringify({
      orderId,
      fiatAmount: amount,
      fiatCurrency: "USD",
      settlementCurrency: "USDC",
      callbackUrl: "https://yourdomain.com/api/webhooks/payments"
    })
  });

  return await response.json();
}
3. Client-Side Rendering: Building the Custom UI
Once your frontend receives the checkout session parameters, you can render a custom React/Vue component. You do not need to display an iframe. Instead, render your own styled loading indicators, token selection buttons, and payment confirmation screens:
// CheckoutComponent.tsx (React Example)
import { useEffect, useState } from "react";

export function CustomCheckout({ sessionData }) {
  const [paymentStatus, setPaymentStatus] = useState("WAITING");

  useEffect(() => {
    // Open a direct WebSocket connection to monitor the ledger transaction
    const socket = new WebSocket(sessionData.websocketUrl);

    socket.onmessage = (event) => {
      const data = JSON.parse(event.data);
      if (data.status === "CONFIRMED") {
        setPaymentStatus("SUCCESS");
        socket.close();
      }
    };

    return () => socket.close();
  }, [sessionData]);

  return (
    <div className="border border-slate-200 rounded-3xl p-8 bg-white shadow-lg">
      {paymentStatus === "WAITING" && (
        <div className="text-center">
          <h3 className="text-xl font-bold text-slate-800">Send Payment</h3>
          <p className="text-slate-500 my-4">Please scan the QR code using your wallet</p>
          <img src={sessionData.qrCodeUrl} className="mx-auto w-48 h-48" alt="Payment QR" />
          <div className="mt-4 font-mono text-sm text-slate-600 bg-slate-50 p-3 rounded-lg break-all">
            {sessionData.paymentAddress}
          </div>
        </div>
      )}

      {paymentStatus === "SUCCESS" && (
        <div className="text-center py-8">
          <div className="w-16 h-16 bg-green-100 rounded-full flex items-center justify-center mx-auto mb-4">
            <span className="text-green-600 text-2xl">✓</span>
          </div>
          <h3 className="text-xl font-bold text-slate-800">Payment Complete!</h3>
          <p className="text-slate-500 mt-2">Your order is being processed.</p>
        </div>
      )}
    </div>
  );
}
4. Key Advantages of the Headless SDK Approach
- Perfect Brand Alignment: Keep customers 100% on your domain. Your checkout maintains identical CSS, typography, and layouts throughout.
- Improved Security Posture: Because the payment calculations and wallet API payloads are handled on your secure server backend, you never expose API credentials.
- Advanced Webhook Integration: Couple client-side WebSockets with server-side webhooks to verify payment status, ensuring that order state is updated even if a buyer closes their browser tab.